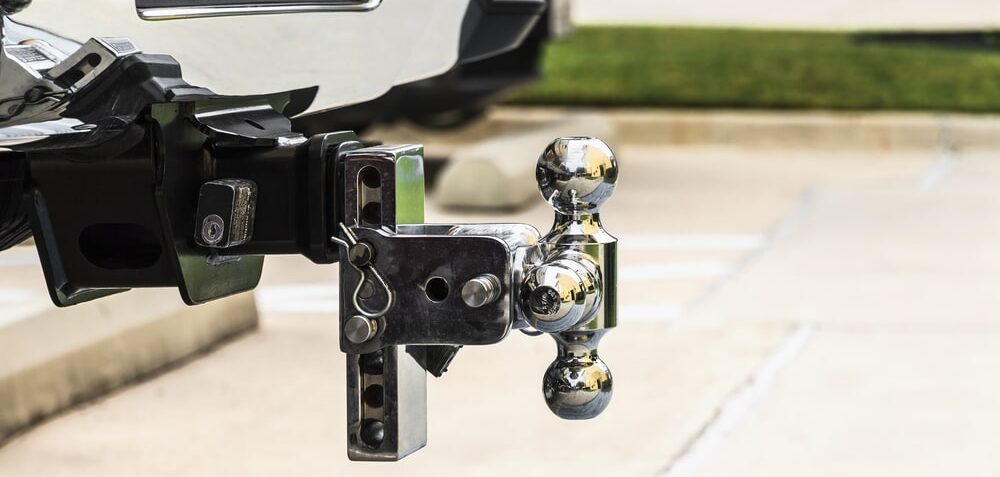
Creating the conditions for a smooth ride with your trailer is important. It sets the tone for the duration of your trip — whether you’re driving across the city or across the country. This is why you need the proper weight distribution hitch for the tongue weight of your trailer. A weight distribution hitch that’s too light will not be effective. And if it’s too hefty, you’ll have to tolerate a springy trailer.
So this then begs the question: How do you determine the perfect weight for your trailer?
There are two simple steps that must be followed to answer this question, and they are as follows:
1. Figure Out Your Tongue Weight
Your tongue weight is the weight on the loaded trailer that’s on the ball of the weight distribution setup, in addition to any additive weight (gear, supplies, etc) that may be behind the back end axle.
Keep in mind that this is the total weight of the trailer as well as the materials. There are plenty of scales that can help you uncover the tongue weight of your trailer.
2. Choose a Method With the Correct Weight Volume
It’s ideal that your tongue weight (the combined weight of your trailer and cargo) is somewhere in the middle of the weight distribution hitch range. This will provide some leeway if the TW alters from one trip to the next. For instance, if your overall tongue weight is 5000lbs, then a good rule of thumb for the tongue weight would be between 4000lbs to 6000lbs.
How to Set up the Right Hitch Size
1. Calculate the Height of the Vehicle and Trailer
Park on a flat surface; ensure that it is flush. Then use a trailer tongue jack along with a level to ensure your trailer is parallel relative to the ground. Take note of the height of both the trailer and vehicle. You’ll have to mark down the distance between the surface of the ground and the crest of the trailer coupler.
2. Fasten the Weight Distribution and Hitch Head
Here, you’ll need to place the weight distribution shank in the receiver tube. Make certain it’s fully secure by using a clip and hitch pin. Then the head assembly will go on the adjustable shank. [The head] must be lifted in place so that the top of the trailer is a couple of inches higher than the height of the coupler. Use a single mounting bolt for the assembly, place it at the bottom to hold it in position.
3. Set the Head Angle
Use two washers on the adjustment rod and place the rod in the bottom hole while you move the head downward. Some weight distribution hitches may not have this kind of setup, this is to be expected. Be sure to always consult with the instructions in the owner’s manual for the proper configuration.
On the shank, turn the head up to a mounting position. You want it to be vertical or sloped slightly backward. To get the right angle, don’t hesitate to add or remove washers if necessary. Then place the second bolt in the top hole. Afterward, tighten the bolts in the hitch head.
4. Add Spring Bars and Combine the Trailer
Attach the spring bars to the hitch head. Be sure to add the spring bar chains to the spring bars before fastening them to the hitch head. Lift the trailer, then back the vehicle to combine the trailer and the trailer ball.
5. Elevate the Trailer Jack
Once you have the coupler fastened and secured to the trailer ball, elevate the coupling point via the trailer jack.
6. Utilize the Hookup Brackets
Use the spring bar chains to escort the process of getting the spring bar hookup brackets on the frame of the trailer. Use the bolts that have been provided to mount the brackets to the trailer. Secure the spring bar chains right onto the brackets. Ensure both sides have the same distance of space between them. Then use the lift handle to pry the brackets into the secured placement.
7. Modify the Weight Distribution Hitch
Withdraw the jack from the trailer so that the trailer’s weight begins to settle on the hitch. From there, measure the spaces once again between the ground and the back bumper. Ideally, you want the space to be somewhere around ½ inch of the initial measurement.
8. Completely Secure the Bolts
Disconnect the trailer and force all hardware to the specifications laid out in the instructions and the manual. This setup process will vary depending on the model of your vehicle and trailer. However, if you are patient with the process and follow the instructions accurately, there shouldn’t be any issues.


