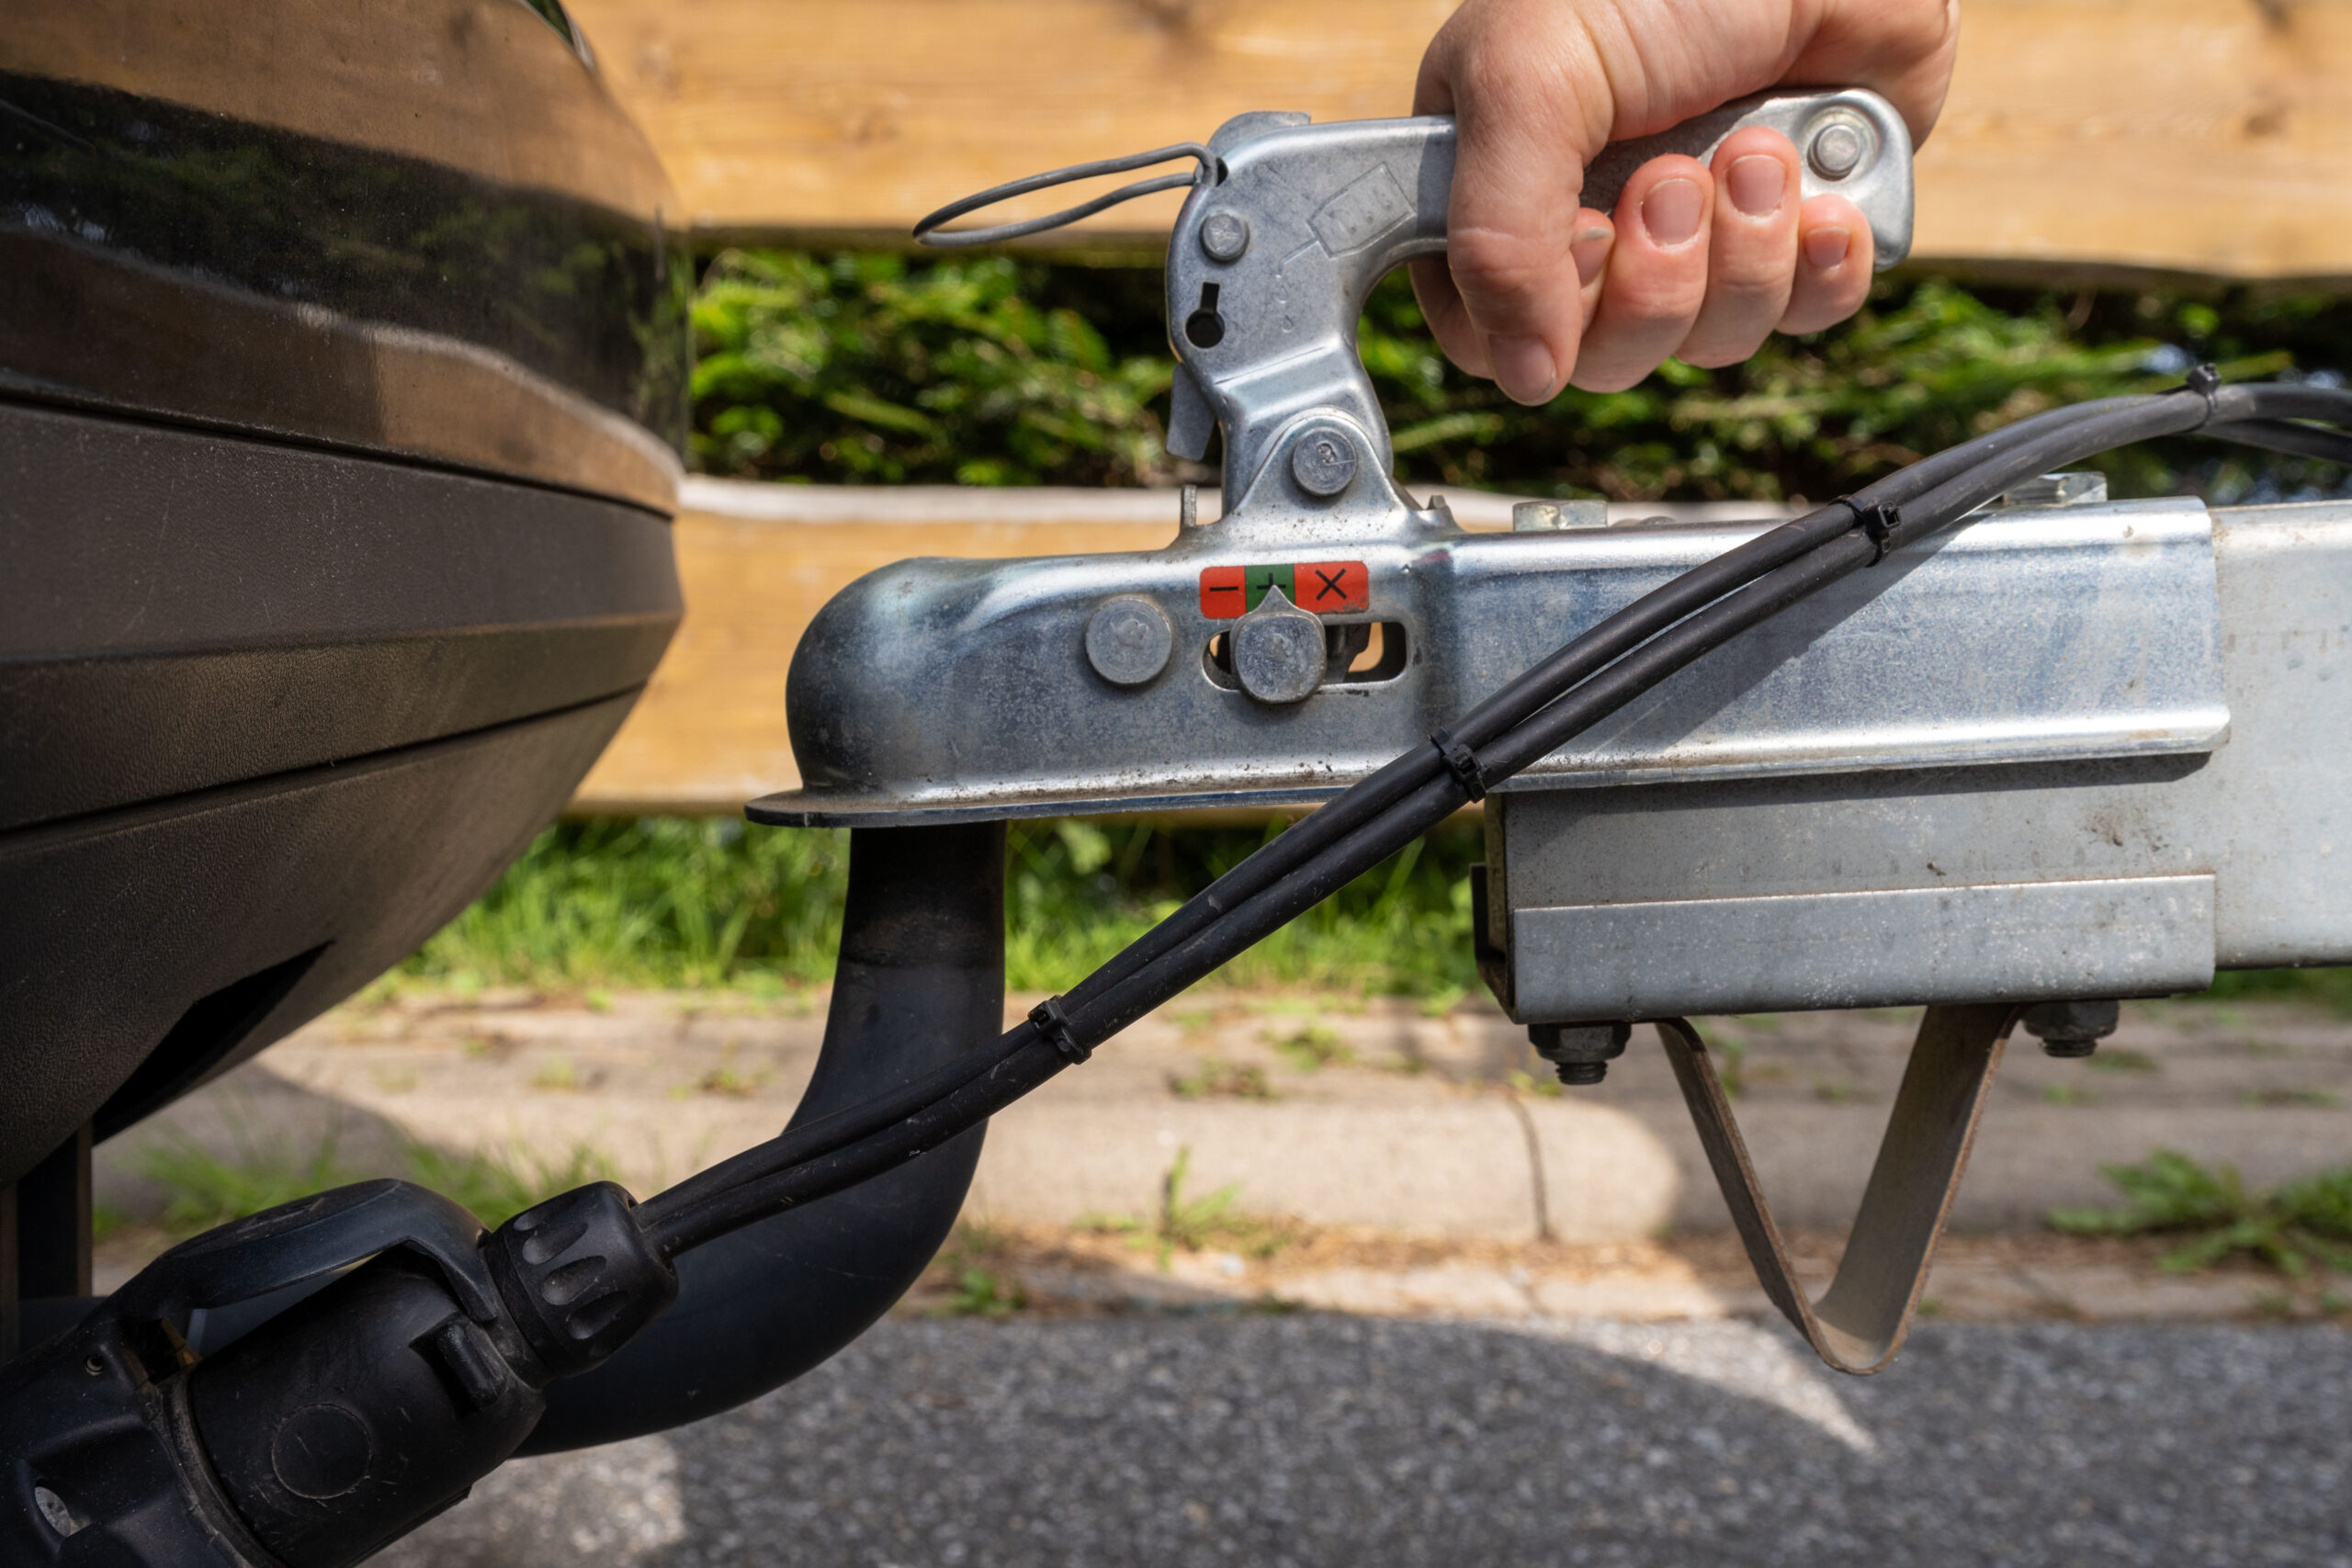
When your trailer weighs more than 50 percent of your vehicle weight, a weight distribution system can help to ensure a smooth and level ride, improving safety as you’ll be less likely to jackknife with a weight distribution hitch and correcting tow vehicle sag.
Installing a weight distribution hitch takes just a few simple steps and provides many benefits, including better road control and less wear and tear to your vehicle.
This guide provides a detailed, step-by-step process for setting up a weight distribution hitch. Remember that each hitch model is different, so it’s essential to refer to the specific instructions that come with your hitch.
Step-by-Step Guide to Installing a Weight Distribution Hitch
Step 1: Measure Vehicle and Trailer Height
Start by parking your vehicle and trailer on a flat surface. Level your trailer using the tongue jack. Measure and note the height from the ground to the top of the trailer coupler and the height from the ground to both the rear and front bumpers of your vehicle. Alternatively, you can measure the distance from the ground to the wheel well.
Step 2: Attach the Shank and Hitch Head
Insert the weight distribution shank into the receiver tube of your trailer hitch and secure it with a hitch pin and clip. Then, mount the head assembly onto the shank, adjusting so that the top of the trailer ball is 1 to 3 inches higher than the coupler height. Secure it with one bolt at the bottom, but wait to tighten it fully.
Step 3: Set Hitch Head Angle
Pivot the head downward, adding two washers on the adjustment rod and inserting it into the lower hole on the head. Adjust the head’s angle to be vertical or slightly tilted back. Insert the second bolt into the top hole and loosely fasten both bolts.
Step 4: Install Spring Bars and Couple Trailer
Attach the spring bars to the hitch head. If the chains are not attached to the spring bars, do so before mounting. Then, back your vehicle up and couple the trailer to the ball.
Step 5: Raise Trailer Jack
With the trailer latched onto the ball, use the trailer jack to lift the coupling point about three inches above its level position.
Step 6: Engage Hookup Brackets
Place the hookup brackets on the trailer frame, guided by the chains. Attach the chains to the brackets, ensuring even spacing on both sides. Lock the brackets in place using the lift handle.
Step 7: Adjust Weight Distribution Hitch
Lower the trailer jack so the full weight rests on the hitch. Re-measure the heights of the front and rear bumpers. Adjust the chain links or the head tilt if there’s a significant change in measurements.
Step 8: Fully Tighten All Bolts
Finally, uncouple the trailer and torque all hardware as specified in the instructions.
Each weight distribution hitch model is unique, so following the manufacturer’s specific instructions is crucial. Take your time to ensure a safe and proper setup.
Weight Distribution Hitch Installation at Calgary Hitch Shop
Proper weight distribution is crucial for towing safely. If you need help from the pros to install your hitch, our team is happy to help. Your safety is our primary concern. Set up a weight-distribution hitch without an appointment in as little as 10 minutes at Calgary Hitch Shop.


